I started in the spring wanting to thin the herd, at that point I had 9 bikes which was way too much for my 2 bedroom apartment and I wanted to get down to a core 4. I did NOT want to be the crackpot with a porch full of bikes and parts again.
I started with the Ibex, I paid $80 for it, rode it in last year clunker challenge,considered keeping it but couldn't get the fit quite right. I put new grips and tires on it for $50 and basically broke even with the sale at $130. It went to a Mom who wanted a camping bike and something that could haul a kid trailer.
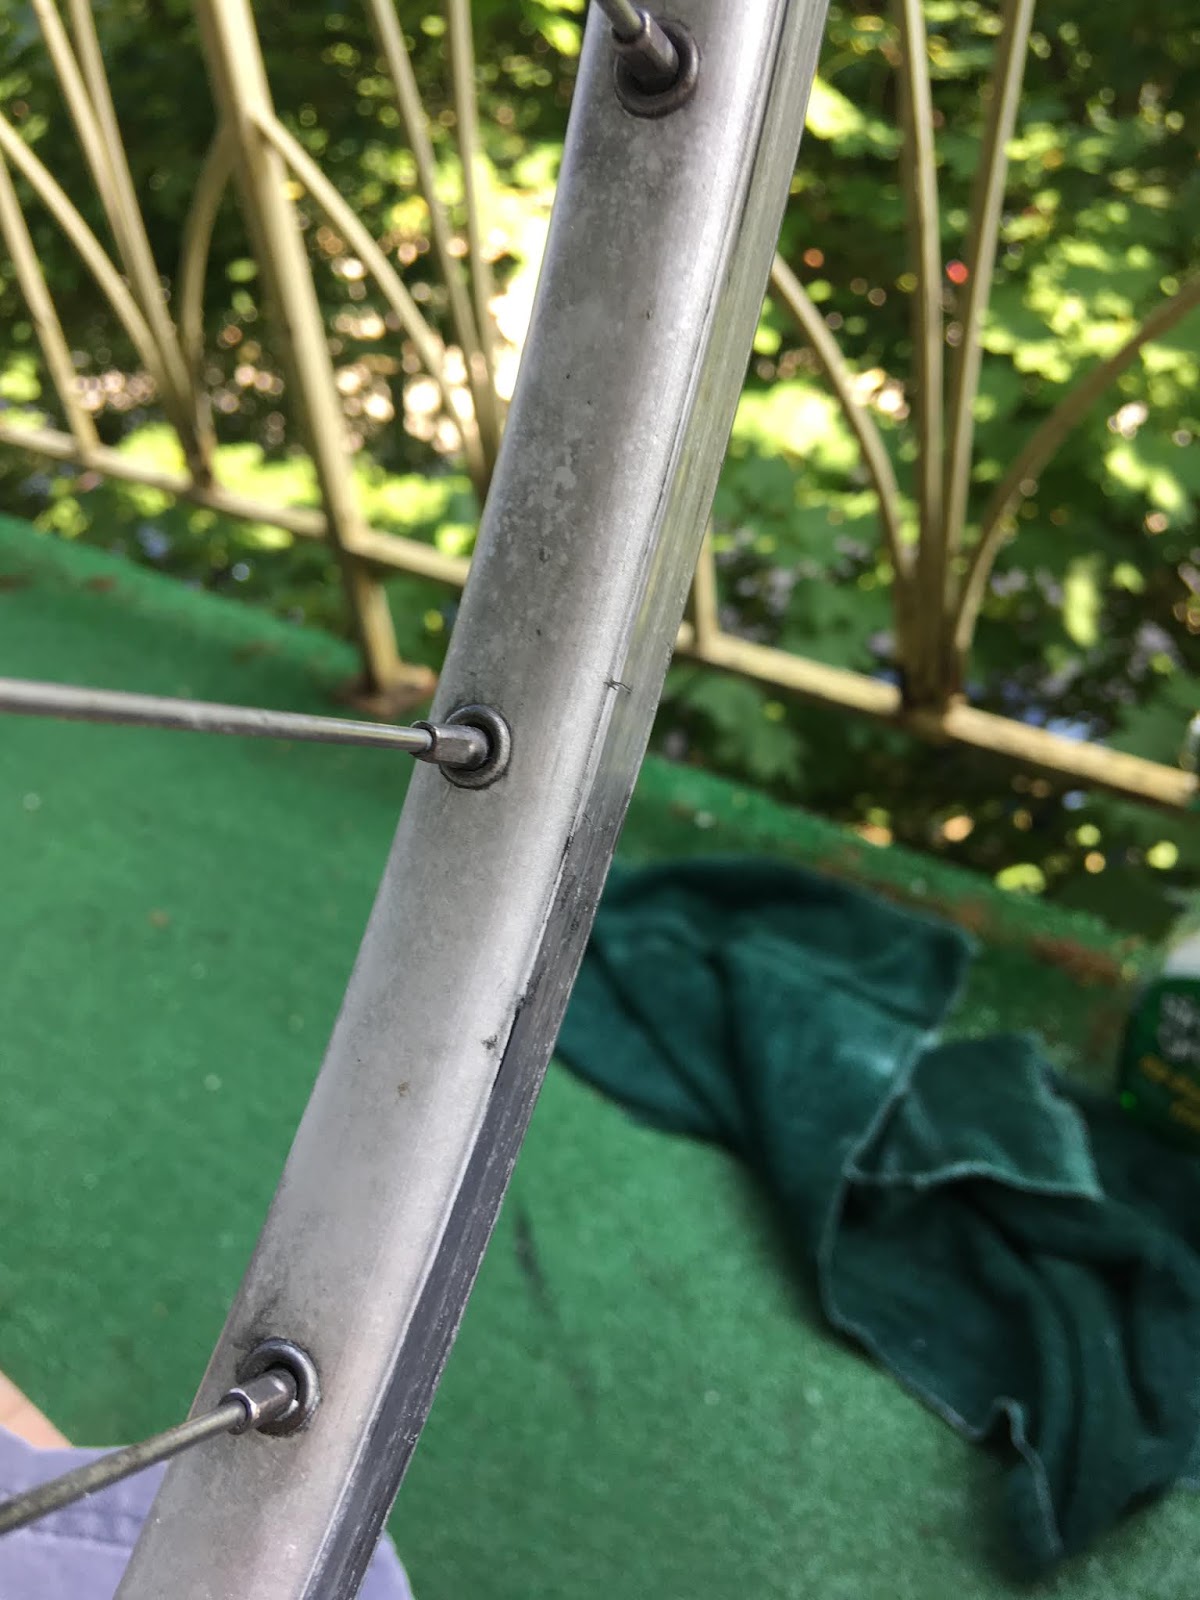
Next up was the 87 Letour that I started on last year. I got this bike cheap, $50 but it had no rear brake, I spent $10 get a nice used long reach from the co-op. This bike was odd in that I did all the normal full refurb stuff, stripping the bike to the frame, rebuilding all the bearings, cleaning the components, waxing the frame etc, but I didn't change the bar tape or tires. I picked up some misc cables to go with bits of housing I already had an a new chain so maybe $20 to get to about $80 all in. The Schwinn sold for $130 to a nice local young man who was going to commute on it.
I had intended to keep riding the Novara Randonee but between its less than ideal fit, short TT, overlap with other bikes in the fleet and the fact it was prime selling time I put it on the market. This bike gave me some challenges between seat post binders, shifters and trying to use a cartridge bb but it was in fine fettle by the time I sold it. I paid $70 for the bike but then replaced the shifters, did the normal bar tape, chain, tires, cables and then also upgraded the cockpit. I got $200 for it and we'll say that after getting use out of it riding (Including the Tour De Lopez), I just about broke even, It went to a Kid who is going to college in LA and needed a bike to get around, his dad is an avid cyclist and gave the Novara his blessing, and paid for it lol. Had I kept the cockpit stock and not messed with the Symmetric shifters I could have probably done well on this bike but I did build it to ride it and I made it comfortable for me,
The Allez was the crown jewel of the bunch, I had a lot fun riding it last year to determine that a 56 cm bike just wasn't going to fit. I got a great deal by finding this for $80 on CL. It got the full spa treatment, I bought new tires and cables but the bar wrap and new chain had been in the parts bin for a few years, I hated the quick link on the Connex chain but used a KMC quick link instead which worked great. I spent about $150 all in, and got $225 for it from a young guy who was already an Allez fan and was intending to use this one for winter commuting. One of these days I will find a 58.
And tonight I sold the Rock Hopper to a tall gentleman who will use it to commute on the Burke-Gilman bike trail. I got the RH for $65 and if I could have gotten the rear shifter to work I think I could have come close to doubling my $$. As it was I put another $40 into for tires, really like the Schwable City tires btw, and used an orphan left friction shifter from the parts bin to solve the shifting issue, I ended up selling it for $120 so I did make a little bit on this one.
I started with 9 bikes, adding the Rock Hopper brought me to 10, I have sold 5 and have the Trek 420 yet to refurb and sell and that will get me down to 4 bikes. A lot more room and a bit of cash in my war chest for the potential coming unemployment, depends on how long it takes to find a new gig.
I might have squeezed more $$ out of the above bikes but I am happy overall and my investments certainly did better than sitting in a savings account, and I had fun on most of these bikes to boot, My plan is to refurb the Trek 520 over the winter an then do a lot of comparison riding between it and the Cresta GT,
Ride. Refurb. Thin the herd. Stack the Cash. Smile. Repeat
Showing posts with label 1992 Specialized Allez Sport. Show all posts
Thursday, August 22, 2019
Tuesday, August 6, 2019
Allez Refurb: Finished
I just needed one final push to finish off the Allez. I wanted to adjust the brakes a bit more, cut and cap the cables and finally. wrap the bars.
To fine tune the brake adjustment I decided to break out the recently acquired Pedro's cable puller or 4th hand tool. I don't know why it took so long for me to get one it was great, I was able to hold and fine tune the cable length and even spin the wheel to check for clearance while the cable puller held everything in place.
Then was on to trimming the cables and capping them. I have had mixed results with end caps staying on but at least the bike can leave me with no frayed ends.
A finally the bar tape, clean hands, patience and lots of checking for gaps as I wrapped. I used the very last of my electrical tape to secure them and was pleased I didn't run short. Time for a new roll.
![]() |
As found May 2018 |
Finished |
The Allez is my 3rd finished rebuild this year after the Novara and the LeTour, although I got a start on the Schwinn last year. I hope to do at least one more, the Trek 420, before the sunny days are gone.
Ride.Smile.Repeat.
Sunday, August 4, 2019
Allez Refurb: Cables, Chain and Test Ride(s)
Saturday evening I decided to run the brake cables and chain so I would be in position, in theory, to finish up on Sunday.
I ran into an issue almost immediately as the front brake cable frayed on me rendering it useless, however, I had a length of brake cable in my stash that fit the bill.
Front brake run |
Rear cable run |
After running the brake cables and housing I realized the front brake pivot where I had replaced a missing nut was still a bit loose and making the brake flex, so I removed the brake and got that fixed.
I had a Connex nickel chain I had intended for the Moto_GT but the stupid Connex quick link (above lower) was so baffling that I abandoned that chain and used a SRAM instead. In the meantime I had bought some spare SRAM/KMC style quick links (above upper) and I used one of those with the Connex chain and ...
..Bingo I was in business, I eneded up taking out a link for fit but I finished Saturday with brake cabling and chain done.
I had a brief moment of panic this morning when I thought I had been sent two packs of brake cables and no shift, then I realized the packaging was generic and looking closely at the bar code I did indeed have a set of each, whew.
Once again I enjoyed the rotation feature of the Park work stand which made accessing the under BB cable guides a breeze. Velo Orange was even nice enough to have sent pre cut shift housing lengths so I just used what they sent. I didn't even have to spend an inordinate amount of time getting the Indexed shifting to work, using the same Park tools video I used for the Schwinn Le Tour back in June.
.
And then I was ready for my first test ride, yes first. Brakes and rear shifting were fine but about a block from home the front derailleur cable came loose so I decided just to walk back, but I failed to secure the loose FD cable and it got frayed and I had to cut it short enough that I couldn't use it. I really hate self inflicted wounds. I also noticed that my newly finished rear wheel had a loose axle, when I moved the wheel laterally in the chain stays, sigh. I decided it was time for a break to recover some zen.
It was a gorgeous day for a ride to the farmers market.
I forgot to specify my normal 4 oz pour and was forced to drink an entire pint! It was 80 degrees out so I couldn't complain. Ham the Yuge IPA from Single Hill brewing in Yakima WA.
I opted to ride the steady and worry free Handsome devil.
I swapped the Sneaker MKS pedals that had been on the Novara Randonee onto the HD, it was about time it got my favorite pedals.
While out running errands I stopped at my LBS, Alki Bike & Board, and got a replacement shift cable. I had already snugged up the cone nut on the rear axle and got the slop out of the rear hub. Thankfully my second test ride was uneventful, and everything worked as it should. Since I had spent a good portion of the weekend on the Allez I decided to spend the rest of Sunday relaxing. Tomorrow I will clip and cap the cables, maybe snug the brakes a bit more and add the final touch, yellow bar tape, before posting to Craigslist.
Ride. Know when to walk away and have a beer. Smile. Repeat.
Saturday, August 3, 2019
Allez Refurb: Rear Wheel
Wanting to keep my momentum going, I decided to tackle opening up the rear hub Friday night so I could decrease it and and have it ready to rebuild on Saturday. Now I have rebuilt countless FW hubs but this is the first Cassette hub I have attempted. I found two helpful Youtube videos to get me started, one from the Global Cycling Network (GCN) out of the UK, and another from RJ the bike guy specific to Freehubs .
.
One video suggested removing the non drive side nut and cone and leaving the drive side intact, its less work that way and I am all for that. In no time I had the axle out.
One of my favorite tricks for working on hubs is using an old speed sensor magnet to pull the bearings out, they come out like bunch of grapes.
Non Drive side |
Drive, side |
I wiped most the old grease out and then hit both races with simple green to get the rest and allow the hub to dry out overnight.
I was able to confirm the rear hub was also RX100 like the front and original to the bike, not that I had much doubt.
RJ indicated I would need a 10mm hex wrench to remove the freehub so I broke out the big hex tool, using the small breaker bar ended up helping loosen it up.
My Freehub wasn't exactly like one in RJ's video and I didn't have access to the Freehub bearings but I did spray Tri-flow lubricant down into the seam you can see in the picture just above and let that settle in why I attended to other things.
The axle and bits went into the sonic cleaner along with the dork disc, the latter took some further scrubbing with a tooth brush post bath but the sonic really loosened up the grime.
The bottom portion of the rim above is after an application of Mothers and the section above is what it looked like before. Not perfect but much better.
I got the Free hub back on the hub so I could get things finished up. I would have liked to been able to do more but I will settle for having got some fresh Tri-flow into the Freehub body, getting it cleaned up and back on the hub.
Since the rear hub bearings get more stress than the front I decided to replace them, 9 bearings per side in back as opposed to the 10 per side on the front hub, and larger 1/4 " bearings. And of course a big helping of fresh grease.
A cassette can only go on the Freehub one way, there is a spline on the Freehub that is a bit smaller that all the rest and then you line it up to the small space on the Cassette and your in business. The hard work is done and the rear hub is all back together.
On to the truing stand, it wasn't as true as the front wheel and needed a little attention but it wasn't too bad.
And I finished off with a new tire and tube using the same method I did for the front wheel. I am pretty close now on the Allez, I figure I have the following left to do:
- Cables and housing
- Chain
- Dial in brakes and shifting
- Test ride
- Bar tape
And then the Allez will be ready to be posted to Craigslist.
Ride. Smile. Repeat.
Subscribe to:
Posts (Atom)