Saturday, March 31, 2018

Campus Bike Part III, My Kingdom for a shim (1978 Schwinn Traveler III)

I thought I could build a bike out of my parts bin with zero funds out of pocket and I thought I could put it together quickly.  I was wrong on both counts.


I was able to make it to Bike Works one evening after work and found the stem I needed.


As I was looking through a box of stems one of the staff came over and asked what I was looking for, I mentioned a 70's Schwinn and he asked "is that like 21.1 (.833 inch) mm?" yes it is I replied and he laughed.  He was building up a bike earlier that day and couldn't understand why the normal looking stem was so skinny and then realized it was 21.1 not 22.2, he knew exactly where it was and with $5.50 out of pocket I was on my way.


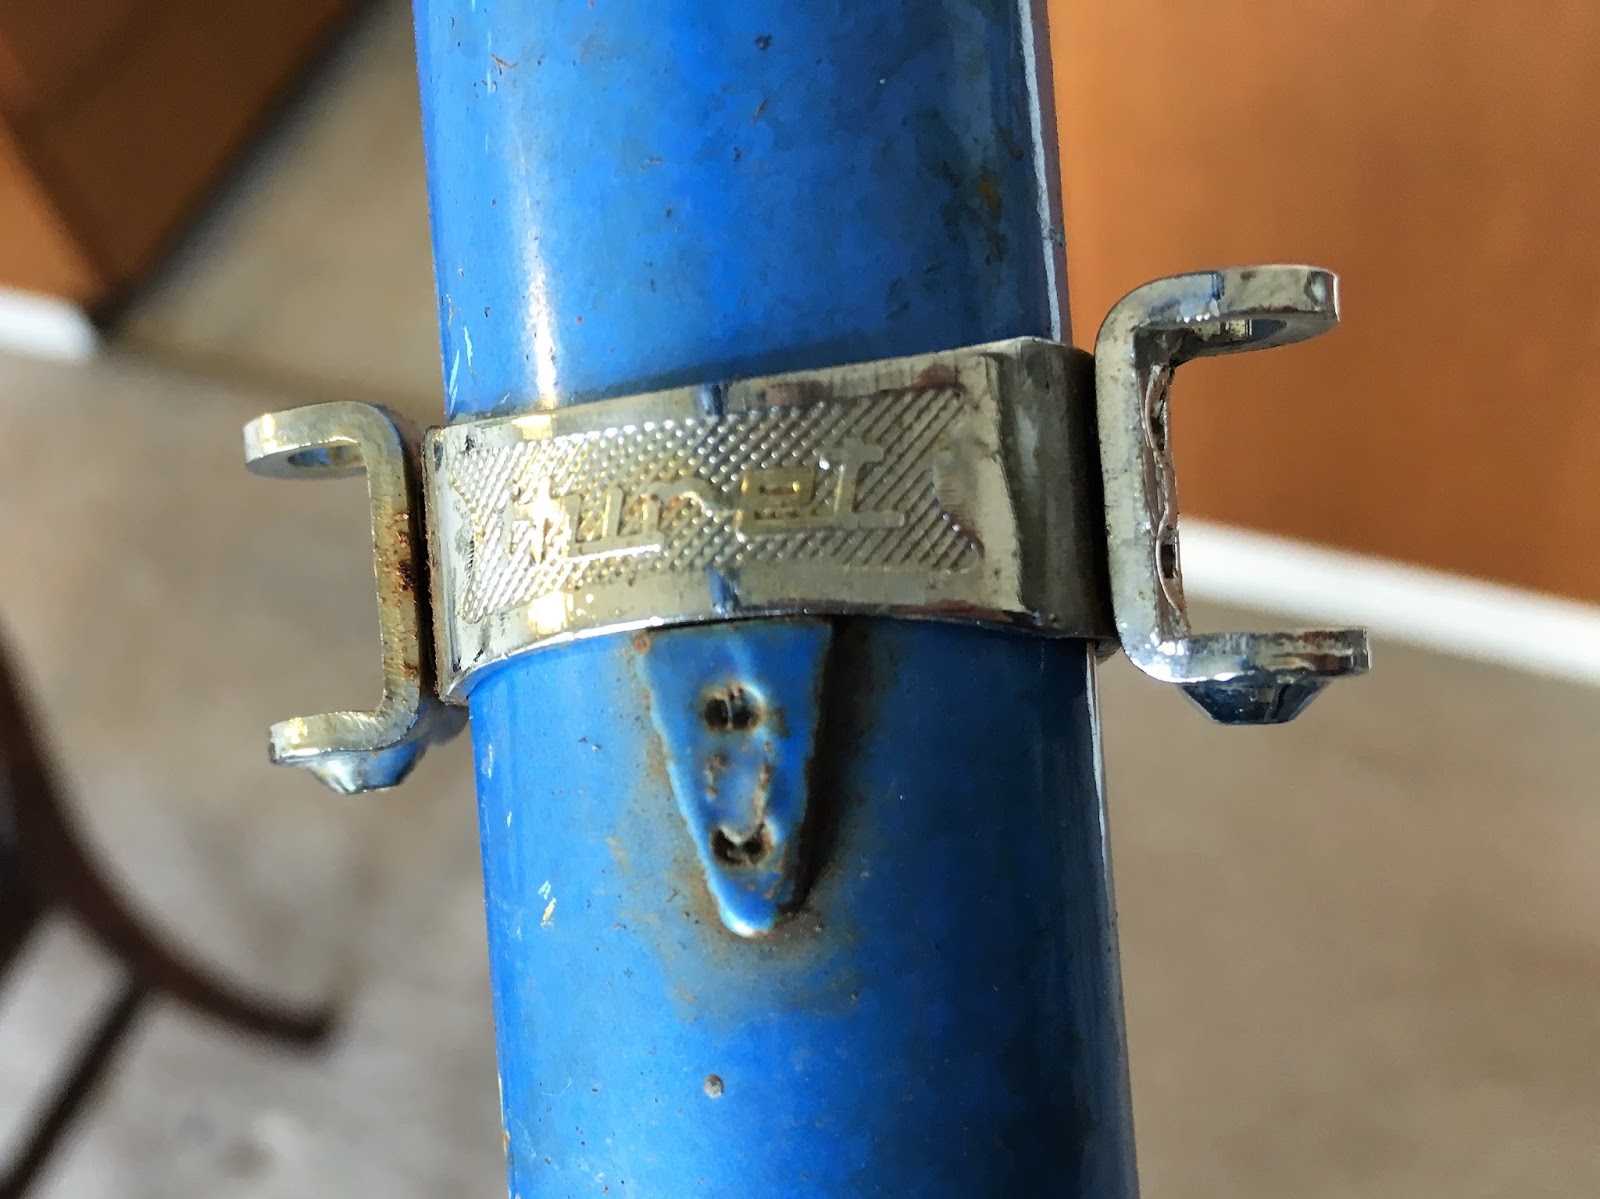
I got it greased and mounted, it was looking good.  Now for the Handlebars...


So guess I was wrong about all .833 stems having 25.4 handlebar openings, I am going to need a shim.  I have some shims in the parts bin but turns out there are for more modern stems and aren't going to work in this instance.  Screw it, I went on Amazon and ordered a 25.4 to 26.0 shim, which should here late next week.   Sigh, I am now up to about $10 about of pocket on this no cost bike.


I wasn't going to be able to finish the bike this weekend without  a shim but there was plenty I could do like apply clear-coat (nail polish) to those rust areas I treated.


And mount the bottle cage I had lying around, I took this off the Raleigh Rapide Mixte and didn't put it back on so it was available for the Schwinn.

I also mounted the wheels, the rear when on fine but the front didn't want to go, I got out the calipers and noticed the outside nut distance on the axle was a smidge wider than the drop out width,  Then I noticed the nuts on axle were kind of chunky.


I had a Specialized 32h front that has been rattling around in the parts bin for a decade.  I had a bad habit of haunting the Bike Nashbar bargain bin online on '07 and '08, it resulted in a $40 Brooks b17 that is on the Handsome Devil but also allot of stuff I didn't really need including the hub.


I took a look at the new hub and realized it had slim outside nuts, noticeably narrower than the ones on the front wheel, so I swapped them.


I used the specialized hub to "cold set" the front width for a while and then mounted the front wheel, it wasn't easy but I finally got it on the bike.


My final challenge was the rear rack, which also came from the Raleigh Rapide mixte.  The hardware I had set aside for the seat stay bracket ended up being too short and the ones I had that were long enough were too fat for the holes in the bracket,  Off to Tru-Value and a few more $$$ out of pocket and the rack was mounted. Oh and I put on the pedals too, I went with the plastic ones.


With any luck the shim will work and I can get the handlebars mounted and put the finishing touches on the Campus bike.

Tomorrow I think I'll ride to the farmers market and drink beers,  Ride, Smile, Repeat.

Sunday, March 25, 2018

Campus bike project part II: Progress and road blocks (1978 Schwinn Traveler III)

Last weekend I started on cleaning the brakes for this project which had some rusty bits and I thought I would try Oxalic acid.

Oxalic acid bath
It wasn't warm enough outside, only about 50 degrees F, and I wasn't able to soak them for more than a couple hours but I gave it a shot anyway.


It wasn't perfect but I did see enough improvement in my abortive attempt to want to try again when its warmer and I can do a proper soak.  It was fine for this project as I don't want things too shiny.


The barrel adjusters were still frozen even after the acid bath so I soaked them in some liquid wrench and then went to True Value to get a small adjustable wrench as the nuts on the adjuster bolt were smaller than 9mm which was my smallest open end wrench.  I have sockets and box end wrenches that are smaller than 9mm but I needed an open end.


Using pliers as a vice and my new tiny wrench I did get the adjusting nut freed up so that the barrel adjusters are once again fully functional.


And that meant I could reassemble the brakes, I did make the mistake of taking both brakes apart at the same time when I should have really left one intact to use as a template, but I was able to get everything back together.


I used my headset cup remover to get the crusty headset cups out of the frame.


And then they got a long soak in the sonic cleaner to loosen and soften the decades old grease.


Which made them easy to clean up.


I didn't bother to remove the lower crown race but I did get it cleaned up in place.


To keep this bike ugly and therefore unappealing to campus bike thieves I am leaving the paint scratched, and scraped and rust spotted, however there were a few major rust spots I wanted to deal with.  I treated them with naval jelly and then after the frame dried I rubbed in some 3 in 1 oil, later I will either wax those frame sections or use some clear nail polish to slow down the rust returning.  In addition to naval jelly the bb shell also got a brass wire brush dremel session and then got a thin coat of grease.


I did a quick check of the wheels in the truing stand and then put the "new" rubber on and in doing so discovered that the front rim was a somewhat rare 27" rim drilled for a presta valve.  I could have drilled it out to accomdodate a schrader valve but I had a presta tube and it really goes with the mismatched theme of this bike, the wheels, tires and now tubes are all mismatched.  The tires are Boontrager and Specialized, the hubs are Shimano and generic, the rims are alloy and steel and the tubes are presta and schrader.


My work on the frame, headset cups and bb shell meant that by end of day Saturday I had the headset back together and the cartridge bb installed.  You may notice the bb pictured is different than the one  I showed last week, its what I always intended to use on this project since it is used but I couldn't find it last week!  Rummaging for other things in the parts bin turned it up so the new one will be saved for some other project, I also find using the half inch socket driver gives nice leverage when installing the bb cups.


It was all going well yesterday until I got around to dry fitting the stem.  I know about French bikes having an odd headtube size and stem (22.0) but it had slipped my mind that a majority of 70's Schwinns used an American standard of .833 inches for their stems or 21.15 in metric which is why my 22.2 stem wasn't going anywhere.  It wasn't a total loss as the handle bars I want to use were too small for that 22.2 stem without a shim, which I don.t have, but will work perfectly with the 25.4 opening (1 inch) on a standard .833 stem.  I made a mental note to visit bike works on Sunday as I didn't want to pay $16 to have a new stem shipped on Amazon for this low budget project.


Since bike works doesn't open until eleven, I went about my day before driving over...and found them closed!  I stood dumbfounded for a moment as it clearly says they have hours on Sunday and its 1 pm, and then I noticed the poster at the top of the door and recalled getting an email that they had an event today and realized I should have put 2 and 2 together earlier and saved myself a trip.  I consoled myself at the nearby Columbia City bakery with a blondie and a macaroon.  Next week I will come back for a stem and try to avoid the temptation of the warehouse and all the potential project bikes that lurk there.


The weekend wasn't a total loss, the derailleurs, brakes and cranks are mounted, I have a wheelset ready to mount and when I get the right stem I can unblock this project.


There is even a seat post and saddle secured to this frame.  Hopefully there will be more to come next week, until then Ride.Smile.Repeat.

Sunday, March 18, 2018

Campus bike Project (1978 Schwinn Traveler III)

I could have called this J*nk bike II, but based on the way it ended last time, I didn't want to jinx things.


You may have noted a few days ago in my shots of the great porch clean up that one bike and one wheel-set remained.  The 1978 Schwinn Traveler III was close to joining the trip to the scrap yard, but I thought that I had enough parts to make a working bicycle and that I could achieve multiple goals in one project; reduce my clutter, make a usable bike without spending any money, and put some $$ in my pocket.  This bike piqued my interest last May and I thought I would give it a shot.


The Traveler in now in the work-stand and the first thing I noticed is that the seat post, even though is has a LeTour mark, didn't seem to fit quite right, close but not really a great fit.


So I tried the sprung saddle with seat post from the 1974 Nishiki Professional and it fit like a charm.


My philosophy for this project boils down to three things; ugly, functional and cheap.  I think ugly will take care of itself especially if I resist the urge to clean and wax the frame, ugly is a theft deterrent, which is key for a campus bike. 


For the functional part I knew I was going to need to check the bearings, when I was working on the Mirage hubs I also checked the hubs on the spare wheel-set, and I made sure they weren't dried out, I did add some additional grease but they should be fine.  The headset though, is gonna need some work, as you can see from the photos above.


This frame has rear brake cable guides and half a rear derailleur guide on the chain stay but no shift cable guides on the down tube.  Parts bin to the rescue!  it yielded Huret and Shimano bolt on cable guides to solve that problem.


I have the wheels and rubber taken care of, its a mishmash but it should be functional, one tire is specialized and one is Boontrager, the front wheel is Shimano and I'm not sure about the rear one but they should get the job done.  Since I am using "previously owned" tubes I have pumped them up to be sure they hold air before I mount them.


The cockpit shapes up like the photo above.  I already talked about the saddle and seat post, the handlebars and grips were part of the 1980 Raleigh Rapide mixte purchase from bike works.  If I hadn't sold the three sets of SunTour stem shifters in the parts bin on ebay last month, I would have set this up for stem shifters but I had a bunch of plastic thumb shifters in the parts bin so that is what I am going to use.  I should admit that when I went to buy a MTB brake cable to finish the Mixte project I bought two additional cables with this project in mind so I have actually spent $4 so far, not sure where the city levers came from.


For the drive train the crank, rat trap pedals, and the SunTour U, RD all came from the 1983 Raleigh Record of Junk Bike fame.  The 110mm bb is a modern sealed bearing unit that was in the parts bin as were the second RD, FD and plastic pedals.  I hope to get a working drive train this collection.


The Side pull brakes also came from the junk bike.  With a bit of clean up and sanding the Kool Stop brake pads should be usable but the barrel adjuster are very rusty so  I am planning to use them to test oxalic acid for dealing with rust.


For extras I have a Pletscher rack and a clamp on water bottle cage which both came from the 1980 Raleigh Rapide Mixte.


I didn't use the rack on the Mixte project in part because I had misplaced both a key bracket and the nuts and bolts.  I have since stumbled across the bracket which I taped to the rack so I wouldn't lose it again.  I was also able to come up with enough hardware (lower left bottom picture above) that I should be able to mount this rack.  I like to think that both my father, and grandfather, a carpenter, would be glad I had a collection of  random nuts, bolts and washers, however they might be wondering how a guy in his fifties only has two small tins worth.


The plan is to assemble all these parts into a ugly but functional bike, sell it for $50 on Craiglist and hope it ends up cruising someplace like the University of Washington -pictured above.

Until next time; Ride, Recycle, Smile, Repeat.