
Wanting to keep my momentum going, I decided to tackle opening up the rear hub Friday night so I could decrease it and and have it ready to rebuild on Saturday. Now I have rebuilt countless FW hubs but this is the first Cassette hub I have attempted. I found two helpful Youtube videos to get me started, one from the Global Cycling Network (GCN) out of the UK, and another from RJ the bike guy specific to Freehubs .
.


One video suggested removing the non drive side nut and cone and leaving the drive side intact, its less work that way and I am all for that. In no time I had the axle out.

One of my favorite tricks for working on hubs is using an old speed sensor magnet to pull the bearings out, they come out like bunch of grapes.
 |
| Non Drive side |
 |
| Drive, side |
I wiped most the old grease out and then hit both races with simple green to get the rest and allow the hub to dry out overnight.

I was able to confirm the rear hub was also RX100 like the front and original to the bike, not that I had much doubt.

RJ indicated I would need a 10mm hex wrench to remove the freehub so I broke out the big hex tool, using the small breaker bar ended up helping loosen it up.


My Freehub wasn't exactly like one in RJ's video and I didn't have access to the Freehub bearings but I did spray Tri-flow lubricant down into the seam you can see in the picture just above and let that settle in why I attended to other things.


The axle and bits went into the sonic cleaner along with the dork disc, the latter took some further scrubbing with a tooth brush post bath but the sonic really loosened up the grime.
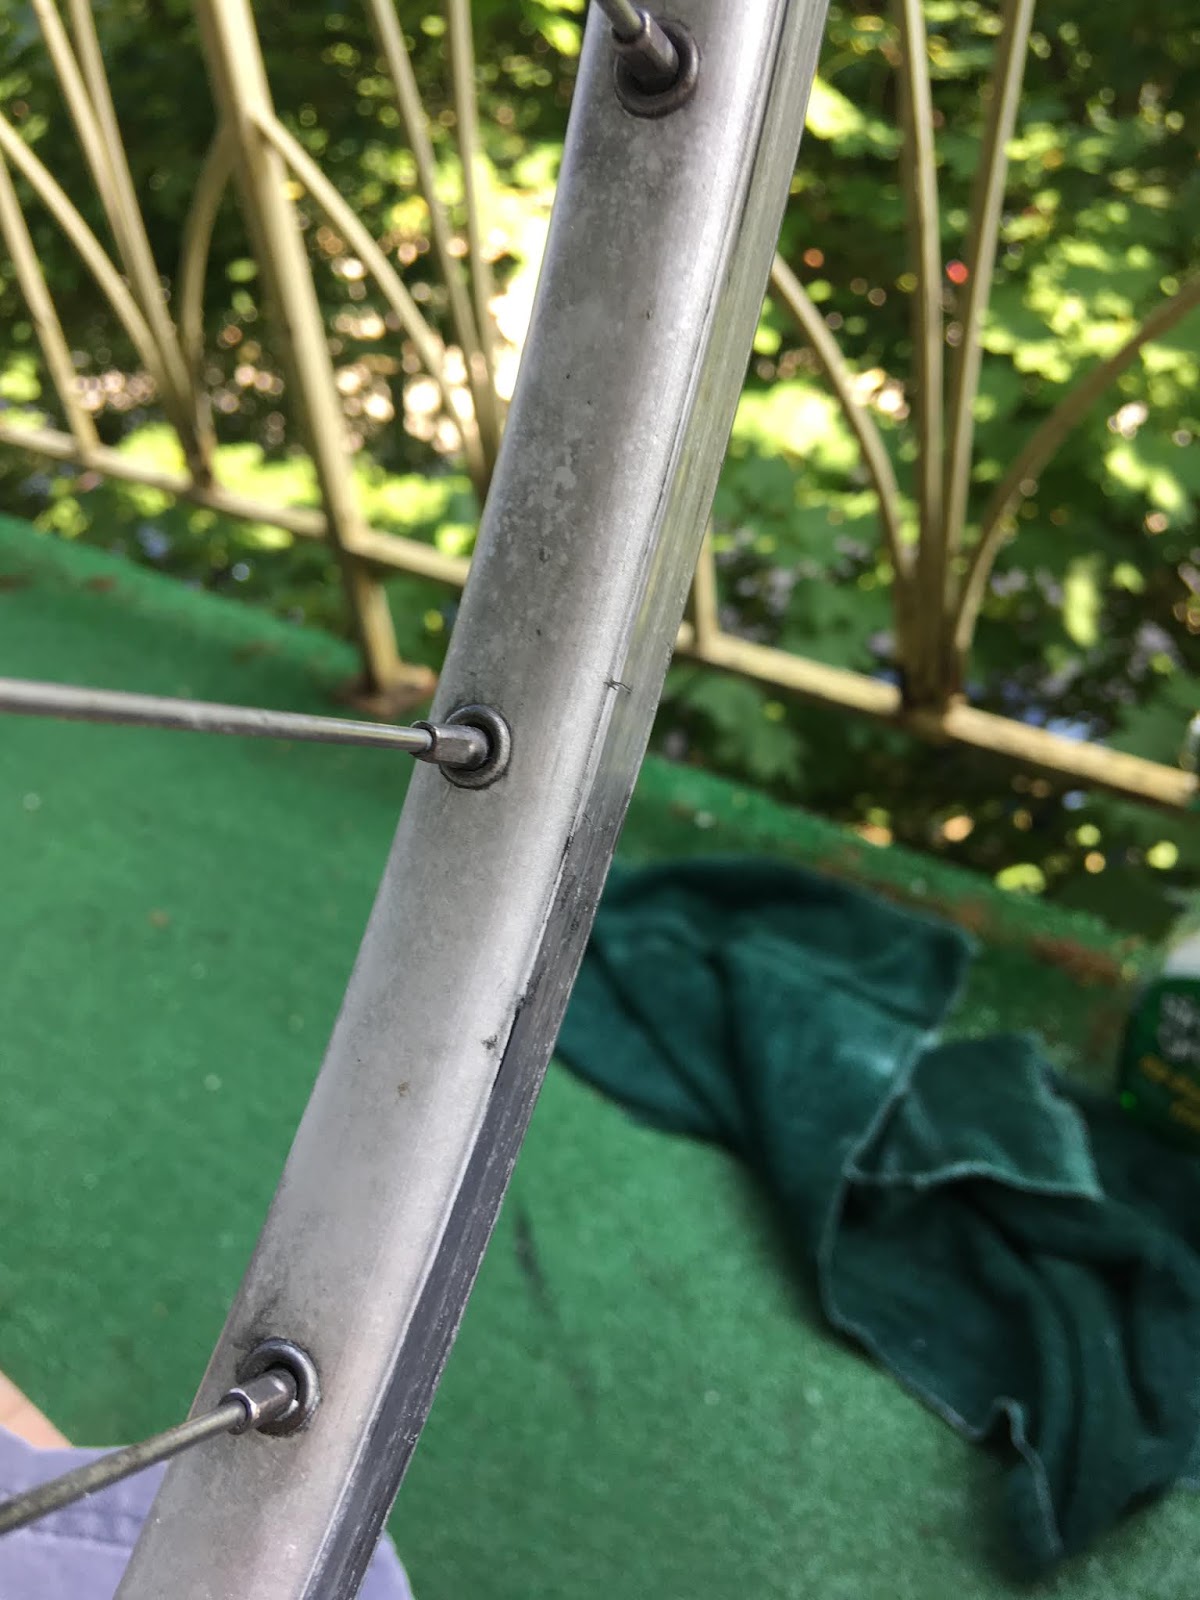
The bottom portion of the rim above is after an application of Mothers and the section above is what it looked like before. Not perfect but much better.


I got the Free hub back on the hub so I could get things finished up. I would have liked to been able to do more but I will settle for having got some fresh Tri-flow into the Freehub body, getting it cleaned up and back on the hub.


Since the rear hub bearings get more stress than the front I decided to replace them, 9 bearings per side in back as opposed to the 10 per side on the front hub, and larger 1/4 " bearings. And of course a big helping of fresh grease.


A cassette can only go on the Freehub one way, there is a spline on the Freehub that is a bit smaller that all the rest and then you line it up to the small space on the Cassette and your in business. The hard work is done and the rear hub is all back together.

On to the truing stand, it wasn't as true as the front wheel and needed a little attention but it wasn't too bad.

And I finished off with a new tire and tube using the same method I did for the front wheel. I am pretty close now on the Allez, I figure I have the following left to do:
- Cables and housing
- Chain
- Dial in brakes and shifting
- Test ride
- Bar tape
And then the Allez will be ready to be posted to Craigslist.

Ride. Smile. Repeat.
No comments:
Post a Comment