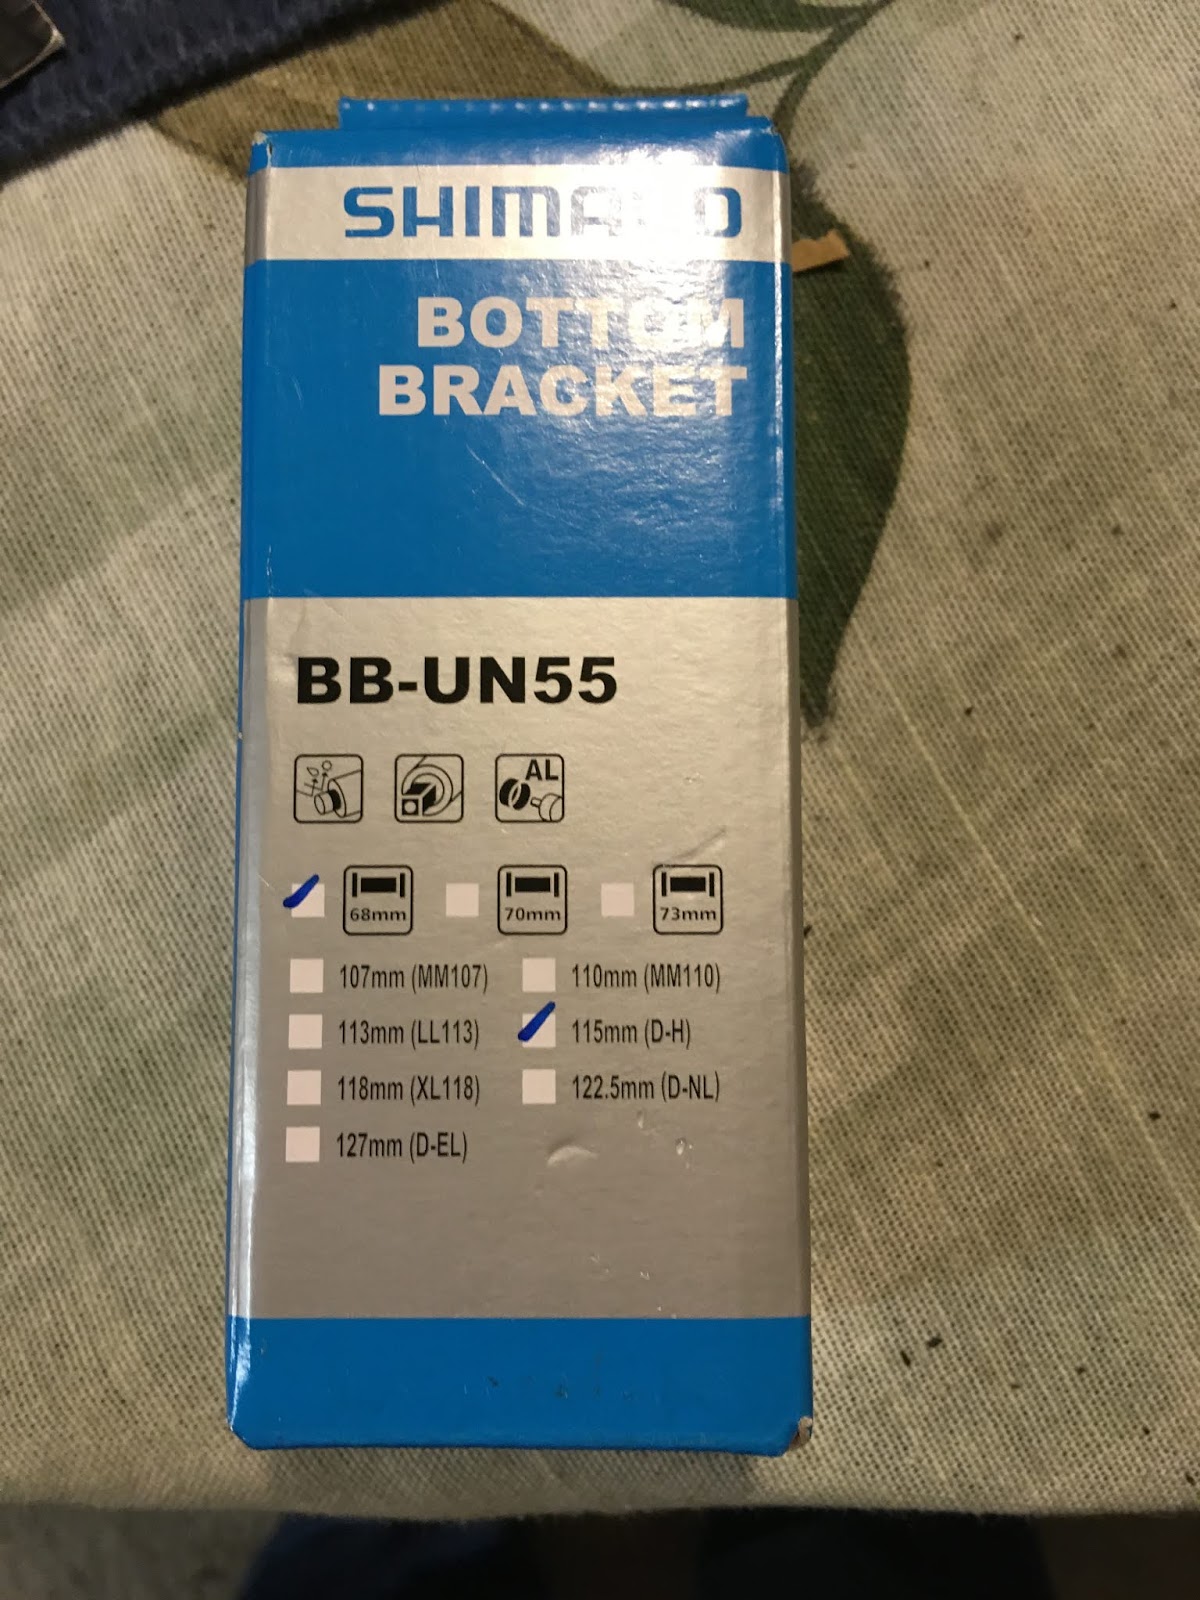
As I mentioned last time the stock bb cups on the Randonee were pitted so I ordered a sealed square taper bb to replace it. The UN-55 is a bit more expensive ($20) than the UN-26 ($13) but it has an alloy left hand cup rather than a plastic one. The allow is less likely to deform if it gets stuck, I have had mixed results with the plastic cups.

I often reuse the stock BB because they usually clean up fine but I was reminded how easy the sealed units are to install and set up when putting on the new one. So two bearings sorted.

I also got the new taller stem and wider bars mounted, I didn't mount the brake levers because although I love the size and feel of the Tektro levers I find it easier to run the brake cable with the lever off the bike rather than on the bars where it can be a real pain.

Got a bottle cage mounted, the bike curiously had none when I bought it, despite having two locations and bolts in place.

I mounted the new dual pivot brakes and noticed in the back the brake arm where the cable runs is very close to the rack strut, the old brakes had a different angle on the brake arm.


So I added some spacers between the seat stay and the rack strut to move it inboard and add room between it and the brake arm and used a section of old old inner tube to make a hood for the brake arm so it doesn't get scraped up during the rebuild. Don't throw out those old inner tubes, they have lots of uses!

And finally I tackled the wheels, I removed the old rubber which on closer inspection wasn't too bad so I didn't throw it out just yet, I did get the front hub cleaned up and replaced the bearings and grease but the rear was a different story.


Its much easier to clean the rear hub with the Free Wheel removed and I wanted to see if a 7 speed FW I have with 34t big cog would fit on this bike if I removed the dork disc/spoke protector. I am sad to report that for the first time in nearly a decade my 1 foot long breaker bar (pipe) failed to give me the leverage to break loose a free wheel, even after two applications of liquid wrench! Tomorrow I will go to Home Depot to try and find a longer pipe. You have served me well my stubby friend.

My new to me (refurbished) phone arrived this week so I could take a picture of the phone I had mounted on the handlebars when I crashed the Cresta GT last week. Yeah pretty shattered, it still worked bless its little heart but it was awfully hard to read the screen and swiping was an invitation to glass shards.

Still hopeful about getting the Randonnee up and running by months end.
Ride.Smile.Repeat.
i freakin' HATE Shimano's plastic retainer rings! One of their worst ideas- had more than one just tear out on the tool.
ReplyDeleteSince the rack is drilled for it, why not use a brake-bolt mounted strut? Not as strong, but no interference with the brake. If you had access to a solid bench-mounted vice, it'd make getting that freewheel off a bit easier... stuck freewheels are a real PITA. Good luck with the longer lever!
The rack was on the bike when I bought and came with the two struts for mounting to the seat stay brase-ons. As an apartment dweller I don't have a bench mounted vise sadly but I do now have a big assed pipe ;-)
DeleteTurning the rear brake around (your next post up) is a good solution.
DeleteSomeone once marketed a 'pocket freewheel vise" (Pocket Pro, IIRC)that was meant for tourists who needed to pull the FW for a drive-side spoke replacement. It held a FW tool & was designed to be braced against a fence rail or board.
And i found this:http://www.redclovercomponents.com/blog/new-product-introducing-the-freewheel-key